INSTALLATION INSTRUCTIONS
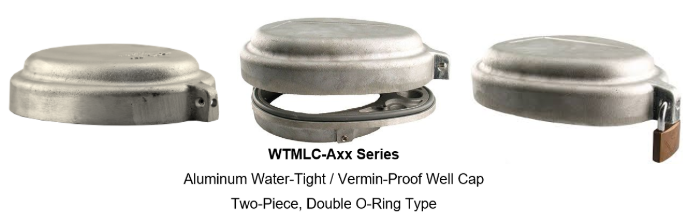
WTMLC-Axx SERIES - ALUMINUM TWO PIECE WATER-TIGHT / VERMIN-PROOF WELL
1.
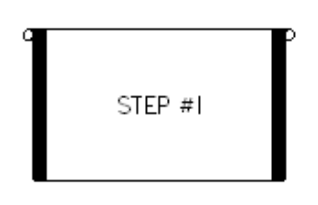
Take the smaller diameter well casing O-Ring and stretch it over the well casing keeping it flush with the top of the casing.(Step #1)
2.
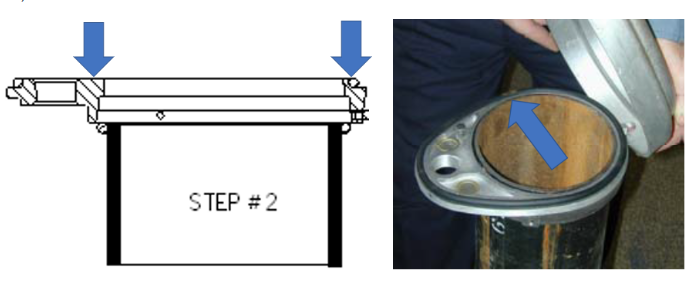
Place bottom ring of the well cap with set screws fully retracted, over O-Ring. Failure to retract all set screws may result in cutting the O-Ring. Push down on bottom ring, O-Ring will roll inside the ring, until the top of the bottom ring is flush with the top of the casing. (Step #2)
3.
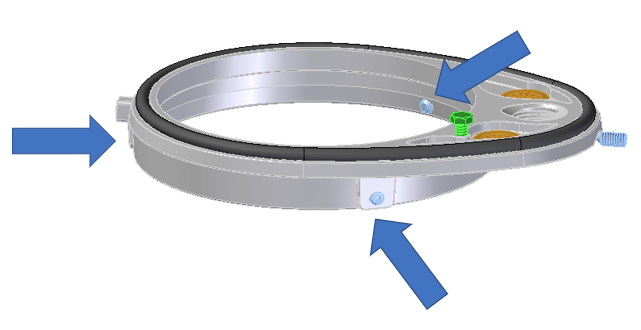
Snug up each of the three set screw using a 5/32" Allen wrench wrench. Check to be sure O-Ring is still in place and the ring is centered on the well casing. Further tighten each set screw an addtional 1/4 turn. DO NOT OVER TIGHTEN (If the set screws are not tighten in evenly and in sequence it may cause the bottom ring to distort)
4.
WTMLC-Axx Series - Hook the cover on the rear pin (Figure 3) and lower cap on to ring applying pressure while tightening the front set screw until it reaches the ramped tapered ‘V’ cutout (Figure 4), secure with pad lock (not provided)
 To remove the cover for well maintenance simply loosen / disengage the pointed set screw shown in set #4 until the cover can be lifted and removed. Avoid turning the set screw out too far to ensure it stays in the thread to avoid loosing it.